THERE IS AN UPDATE/ADDITION TO THIS POST HERE – MARCH 26/2023
Hello my friends! Today I want to share how I organize and store my 8.5 x 11 cardstock. I have an older post that goes over how I used to store it, but since I moved into my new home, I’ve updated things and wanted to share my current solution with you.
If the product(s) are available online (usually where I purchased it), I will list and link for you. I do link to products in my store and I use affiliate links when possible (at no cost to you), but none of the products I’m listed were provided or sponsored by anyone. (I stock my store with my favorite products!) These are simply my personal favorite products that I use when crafting. Full Disclosure Here.
I started out with magazine files, you can use any but I use two kinds. The first is called Like It from The Container Store and the second is from Amazon. They both fit in the Expedit/Kallax unit from Ikea perfectly.
 |
 |
Next, I use Magazine Dividers to divide and label them. These can be a little pricey if you have a lot of cardstock. I got mine for about 12$ a piece from this seller on eBay, but you can get them on Amazon as well, (they cost more on amazon). They are thick and sturdy and will last forever! But alternatively, you could always laminate thick cardstock and add a tab to it.
Next, I label my Magazine Dividers, I put the manufacturer name or initials and then the color name.
I used to use the (PTouch label maker) that everyone else uses but I do a lot of labels at once and I hate punching it in by hand and the waste for the labels weven when using chain print so…..I recently switched over to the PTouch Cube.
The PTouch Cube uses the SAME labels that the basic (PTouch label maker) uses. The difference is that there is no waste, you can use different sizes (6mm, 12mm and 24mm), as well as the fact that you can use the software to type out the labels on your computer OR on your phone. I really like doing them on my laptop and i make less errors when typing them out. I will never go back to the basic one now that I have the cube!
Next, I use job ticket holders. You can use any brand, I have a couple of different brands. But here is one that I use. I cut mine down to 11 1/4 long.
 |
 |
Once the holder is cut down, I add the cardstock, then the divider and lastly, in front of the divider, I put my scraps.
That’s it! here is a closer photo of how it looks in my Ikea Kallax cubes.
That’s it! I can store four of the Like It Magazine Holders per cube in my Kallax from Ikea. And one of the magazine holders from Amazon. They hold about the same amount of cardstock.
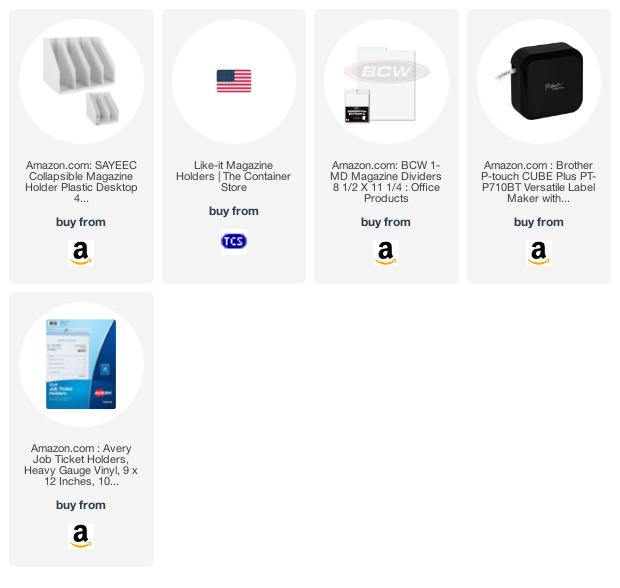
Here is a list of the products I use for my cardstock storage. If you have any questions, please feel free to contact me. Happy Organizing!


[…] Cardstock Storage and Organization […]