 Over the years I have tried practically every storage solution known to man to try to organize my embellishments. A friend gave me this suggestion and I love it so much I’m transferring ALL Of my embellishments over to this new storage solution. This method is great for any type of embellishments, whether they be sequins, pearls, bling, clay sprinkles, etc. Most of my embellishments come in little zip type bags from Kat Scrappiness but you can do this with any company’s products.
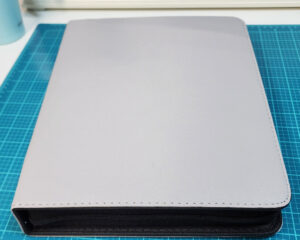
First, you will need a zipper binder. I chose this one from Amazon. It comes in multiple colors as shown below but I chose grey top match my craft room.
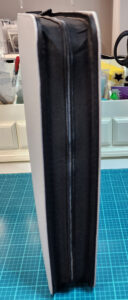
The zippered binder is important so nothing every falls out if you drop it or turn it upside down, etc. The binders come with plenty of pocket pages (sleeve card protectors) but you can buy extra if you need them. Here are some affordable ones from Amazon.
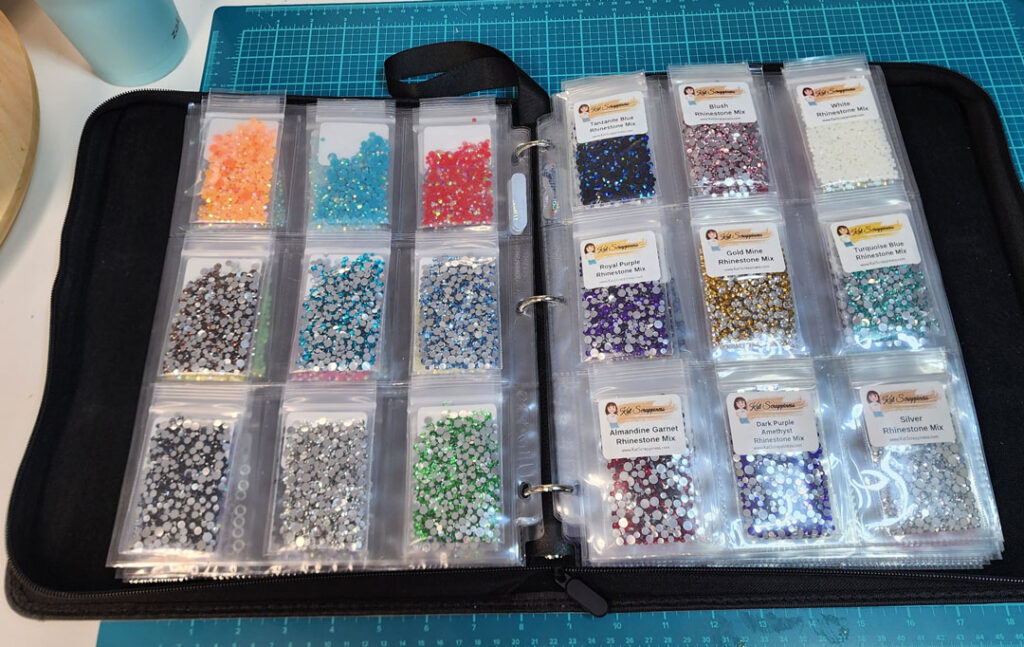
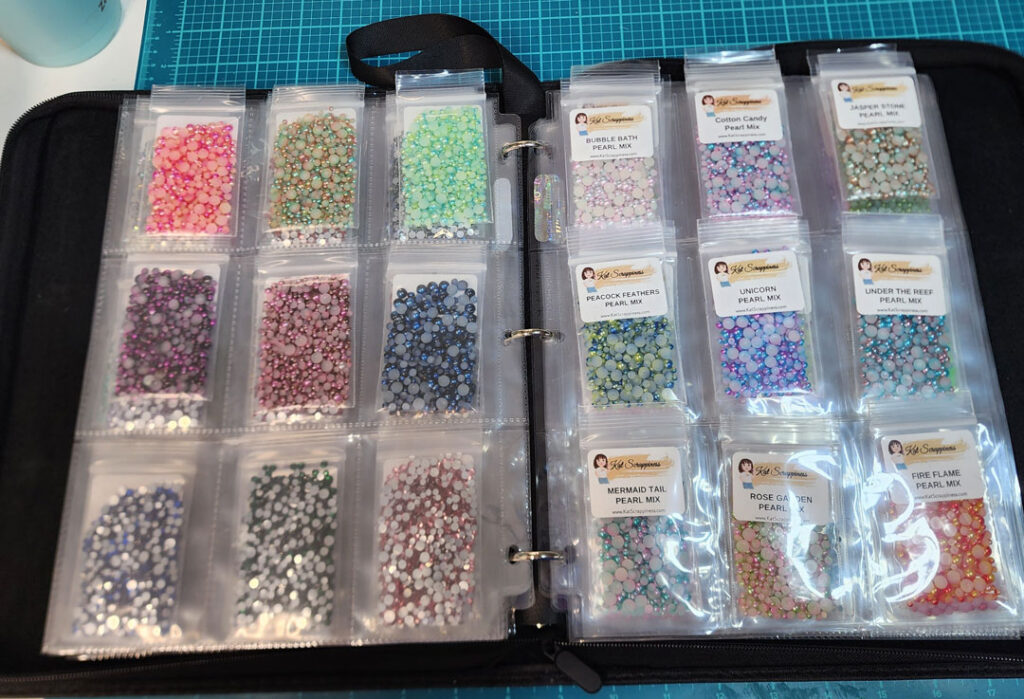
I just take the embellishment baggies and slide them right into the pocket pages. I organize mine by type (pearl, rhinestone, sequin, etc) and also by Holiday but you can organize yours by color if you prefer. This is what the binder looks like filled up with crafty goodness!
As you can see, it’s SO easy to flip through the page and see what you have. Just slide out the baggie you want to use and then slide i back in and voila! You are finished! I find this much easier than all of the little containers that I used to use. (Here is my previous embellishment storage solution). With these binders, I can fit a TON of embellishments in each binder and I love that they can sit on a shelf. How many pages you can fit in your binder all depends on how thick your embellishments are.
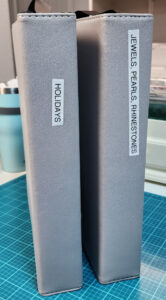
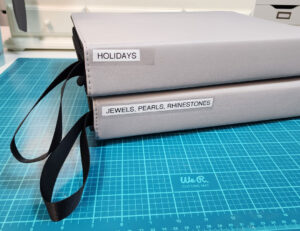
I use my Brother Label Maker to print labels for the binders but you can create any type of label you’d like.
I hope this post helps you with your embellishment organization. If you have any questions, please feel free to leave a comment. Happy organizing!

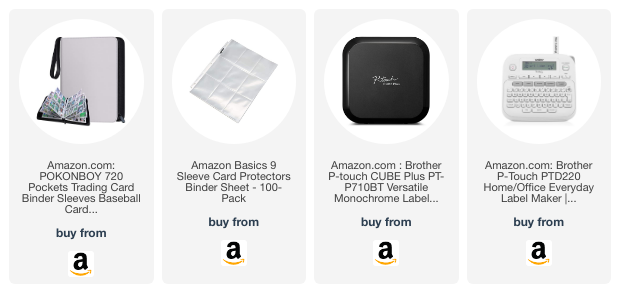
Products Used:

Leave a Reply