Kat's Adventures in Paper Crafting...

Card Making, Stamping & Scrapbooking

  • Twitter
  • Facebook
  • Instagram
  • Pinterest
  • RSS

A Paper Crafting Blog

  • Home
  • About
    • About Kat
    • Contact Me
    • Disclosure
  • Organization
    • Updated & Easy Stamp Storage, Organization & Inventory!
    • Embellishment Storage Solution
    • Lazy Susan from Ikea for Gemini Jr Die Cutting Machine
    • Updated Die Storage Categories in Evernote
    • Cardstock Storage and Organization
    • Updated & Easy Stamp Storage, Organization & Inventory!
    • Stencil Storage
    • Organization Archives
      • Craft Room Tour
      • Bling & Enamel Dot Storage
      • Cardstock Storage – 8.5×11
      • Cardstock Storage – 12 x 12
      • Copic Marker Storage
        • Other Copic Storage Ideas
      • Die Cut Storage
      • Die Storage (Wafer Thin Dies)
      • Evernote Inventory
      • Flair Button Storage
      • Ikea Raskog Cart
      • Ink Pad Storage
        • My Ink Swatch Album
      • Peerless Watercolor Paint Storage Solution
      • Scrap Paper Storage
      • Sequin Storage
      • Small Stencil Storage
      • Stamp Storage System
      • Stickles Storage
  • Kat’s Favorite Crafty Products
    • Kat’s Favorite Adhesives
    • Kat’s Favorite Crafting Papers
    • Kat’s Favorite Coloring Mediums
    • Kat’s Favorite Crafting Tools
    • Kat’s Favorite Die Cutting Accessories
    • Kat’s Favorite Embossing & Foiling Products
    • Kat’s Favorite Inks Pads
    • ARCHIVED Kat’s Favorites – 2019
      • Kat’s Favorite Crafty Things – 2019
      • Kat’s Favorite Adhesives 2019
      • Kat’s Favorite Cardstocks & Paper – 2019
      • Kat’s Favorite Crafting Tools – 2019
      • Kat’s Favorite Die Cutting Products – 2019
      • Kat’s Favorite Heat Embossing Products – 2019
      • Kat’s Favorite Inks & Inking Tools & Products 2019
      • Kat’s Favorite Stamping Products – 2019
  • Paper Crafting
    • Tutorials & Guides
      • How to Unmount Your Rubber Stamps with EZMount Cling Foam
      • Evernote Tutorial
      • Stamping Tutorial for Beginners Part One: Rubber Stamps
      • Stamping Tutorial For Beginners Part Two: Clear Stamps
      • How to Clean Your Stamps & Stamp Cleaner Demonstration & Review
      • How to Create a Birthday Calendar Reminder Book
      • Create an Ink Swatch Album
      • Create Your First Scrapbook page
    • All Copic Posts
      • Copic Markers FAQ & Color Combinations for Beginners
      • Copic FAQ 2 – What Cardstock to Use with Copics
      • Copic FAQ 3 – What Ink To Use with Copics
      • Copic Marker Storage
    • Kat’s Project Shares
      • My Cards
      • My Scrapbooking Layouts
  • Evernote
    • Updated Die Storage Categories in Evernote
    • Original Evernote Tutorial
You are here: Home / Craft Room Organization / Stencil Storage

Stencil Storage

January 15, 2022 by Kat 5 Comments

Hi crafters!  This is an updated version of my original Stencil Storage post from 2017 that you can find here.  I’ve changed the way I store things so I thought I’d share what I do now in hopes that it helps someone out there looking for a stencil storage solution.

I store my stencils in this Kitchen Organizer bin because I can see them and flip through them easily.  *I, like many other crafters use different versions of these clear bins throughout my craft room.  The original idea for these bins came from Jennifer McGuire with her stamp storage ideas.  


If the product(s) are available online (usually where I purchased it), I will list and link for you.   I do link to products in my store and I use affiliate links when possible (at no cost to you), but none of the products I’m listed were provided or sponsored by anyone. (I stock my store with my favorite products!)  These are simply my personal favorite products that I use when crafting.  Full Disclosure Here.


This is the step by step process of my stencil storage:

Step One:

Accent 120lb cardstock

First, I take some thick cardstock, I use Accent 120lb cardstock for all of my organization and storage needs in my craft room because it’s SUPER thick, sturdy and inexpensive.


Step Two:

Roayl Sovereign 9" Laminator

I laminate 6 1/4 x 6 1/4 sheets of my cardstock to store my stencils on (in the pockets).  You can use any laminator but I use this one (and have for YEARS).   I also get my laminating sheet in bulk (cheap) from Amazon.  You can get them in packs of 50, 100 or 200.

laminating sheets


Step Three:

Stencil Storage Pockets

I store my 6×6 stencils (and smaller) in the Stamp-n-Storage 6×7 Paper Storage Pockets which are tabbed and allow me to see all of my stencil names at a glance. I store my taller stencils in the back of this storage bin, in Clarity Stencil Folders.  (I will be updating that later this year).


Step Four:

Stencil Spray

Next, I spray my stencils with Pixie Spray.  This is a repositionable adhesive that allows me to use and store the stencil without it slipping and sliding all over.  It never has to be cleaned off and you can re-spray it if it wears off after time.  Not only does it work when using the stencil but it also holds the stencil still on the backer card in my stencil pocket!


Step Five:

Stencil organization

Next, I put the stencil on the laminated piece of cardstock and slide it into the pocket and label it.

You can use any label maker but I use this one.

Label Maker – PTouch CUBE

PTouch Cube Label Maker

I used to use the (PTouch label maker) that everyone else uses but I do a lot of labels at once and I hate punching it in by hand and the waste for the labels weven when using chain print so…..I recently switched over to the PTouch Cube.

The PTouch Cube uses the SAME labels that the basic (PTouch label maker) uses.  The difference is that there is no waste, you can use different sizes (6mm, 12mm and 24mm), as well as the fact that you can use the software to type out the labels on your computer OR on your phone.  I really like doing them on my laptop and i make less errors when typing them out.  I will never go back to the basic one now that I have the cube!


Stencil Storage Bin


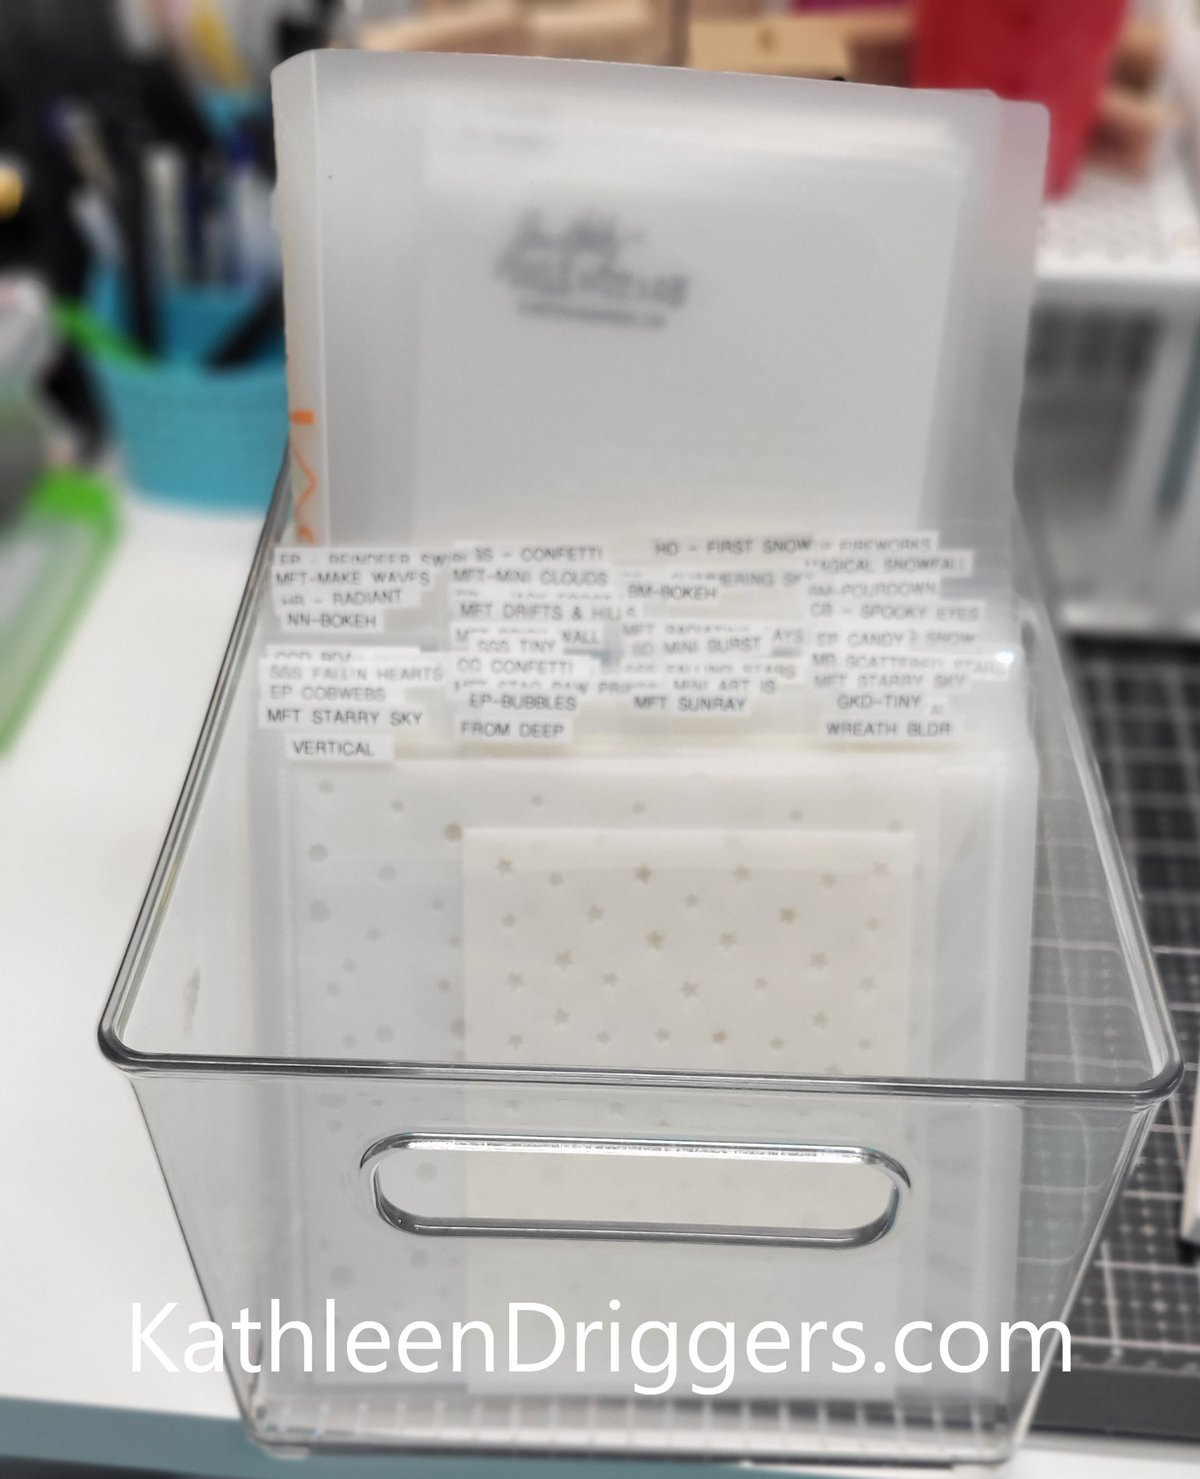
This is my finished stencil storage bin.  You can use a smaller bin if you have less stencils, but i wanted room to grow so I used this one.  I hope this helps you with your stencil storage!

mDesign XL Stamp Storage Bin

Kat


Supplies

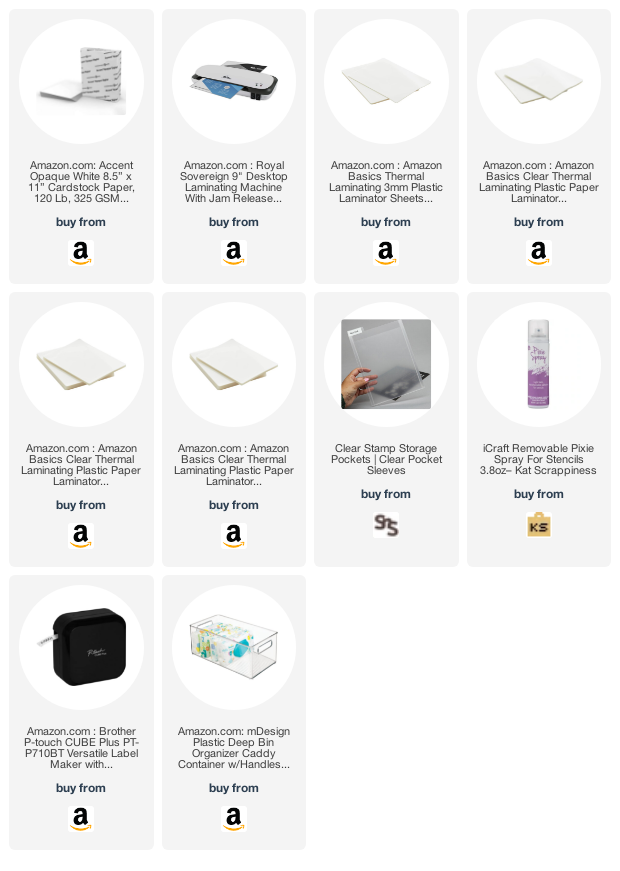
These are the products I use for my stencil storage.


« Previous article:

How to Unmount Your Rubber Stamps with EZMount Cling Foam

Next Post: »

Cardstock Storage and Organization

Filed Under: Craft Room Organization Tagged With: 6x6 stencil storage, craft room organization, craft room storage ideas, craft room storage tips, small stencil storage, stencil organization, stencil storage

Comments

  1. Vicki Dutcher says

    January 15, 2022 at 4:36 pm

    I like this idea. I never realized you didn’t have to not remove pixie spray! That alone is worth this post! Thanks 😊

    Reply
  2. Judy Inukai says

    January 16, 2022 at 10:26 am

    Thanks for all the ideas. I like the idea of laminating backings for the storage pockets and using Pixie Spray to hold them on the laminated sheets.

    Reply
  3. Diane says

    March 23, 2023 at 5:09 pm

    Hi, Kat, I love the idea for small stencil storage. I’m going to convert mine. But how do you store large stencils (12 x 12)? I have mine in a large binder but it has gotten very awkward to handle.

    Reply
    • Kat says

      March 23, 2023 at 9:29 pm

      Hi Diane, I don’t have any 12 x 12 stencils. I would put them in a binder/scrapbook with sleeves if i had any though 🙂

      Reply

Trackbacks

  1. 50 Super Helpful Craft Supply and Craft Room Organizational Ideas | Witchcrafted Life says:
    April 1, 2022 at 7:03 pm

    […] Stencil Storage: Much like metal dies and sheets of stamps, stencils can be a tricky thing to store in a way that […]

    Reply

Leave a Reply Cancel reply

Your email address will not be published. Required fields are marked *

This site uses Akismet to reduce spam. Learn how your comment data is processed.

About Kat

Kat

Grab My Blog Button

Kat's Adventures in Paper Crafting
Copy and paste this code to add my button to your blog or website!
Kat Scrappiness - Stamping, Die Cutting, Crafting Store!

Categories

  • Art Journal
  • Awesome Scraprooms
  • Brother ScanNCut2
  • Card Making
  • Contests, Giveaways & Swaps
  • Copic Markers
  • Coupons
  • Craft Room Organization
  • Craft Shopping
  • Crafty Sales & Coupon Codes
  • DIY Projects
  • Download Free Scrapbooking Inventory Forms
  • Family Life
  • FOR SALE
  • Free Cut Files
  • Free fonts
  • Free Printables
  • Home Life
  • Justin's Recovery
  • Kat's Favorites
  • Kat's Life
  • Kat's Project Shares
  • Kat's Scrap Room Organization 2014
  • Kat's Scrap Room Pics
  • Kat's Scrap Room Video Tour
  • Kat's YouTube Videos
  • Mini Albums
  • My Cards
  • My Scrapbooking Layouts
  • News & Updates
  • Organization Products
  • Organization Projects
  • Organize It!
  • Other
  • Other Crafty Projects
  • Scrap Rooms & Organization
  • Scrapbooking
  • Scrapbooking Freebies
  • Scrapbooking Products & Reviews
  • Silhouette Cameo
  • Stamping
  • Teenagers
  • Tutorials & Guides

Recent Posts

  • I have a New Puppy!!!! April 23, 2025
  • Easter & Spring Craft Sale! February 15, 2025
  • Marker Destash! February 15, 2025
  • I’m still here! December 9, 2024
  • Merry Christmas and Happy New Year from Kat! December 23, 2023

Archived Posts

Copyright © 2025 · Delightful theme by Restored 316

Copyright © 2025 · Delightful Pro Theme on Genesis Framework · WordPress · Log in