Hi everyone! So if you’ve followed my blog for awhile you will know that I’ve tried many different options for my copic marker storage and they have all worked for me, for a time. I have found however, that my last storage option, while great for someone “on the go”, isn’t working for me. (My carrying bag and insert are for sale here!)
The reason is that I don’t travel and craft anymore and I find that having to take my markers down and have them on the floor next to me while I color and then having to put them away, causes me to not use them as much, so….I have a new storage method!
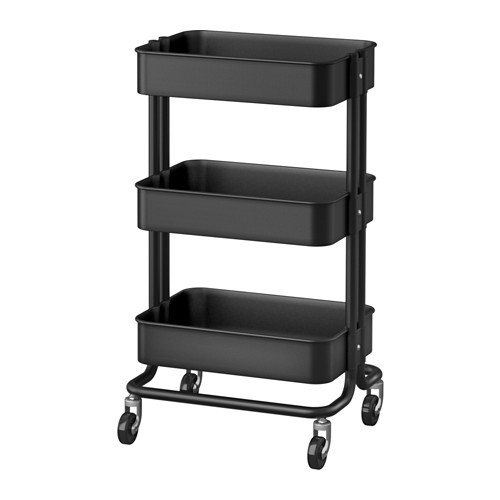
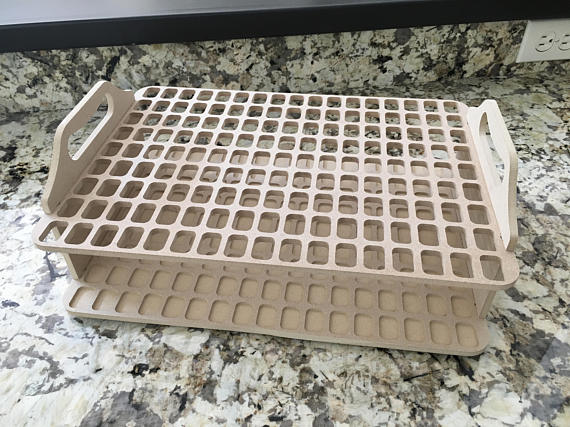
I went back to TJ and Things on Etsy (who made the insert for my copic marker storage bag) and found another great product that she offers. It’s an insert for the Raskog cart from Ikea!
The only problem is that both of my Raskog carts are full…so I ordered a new one (in black)! 
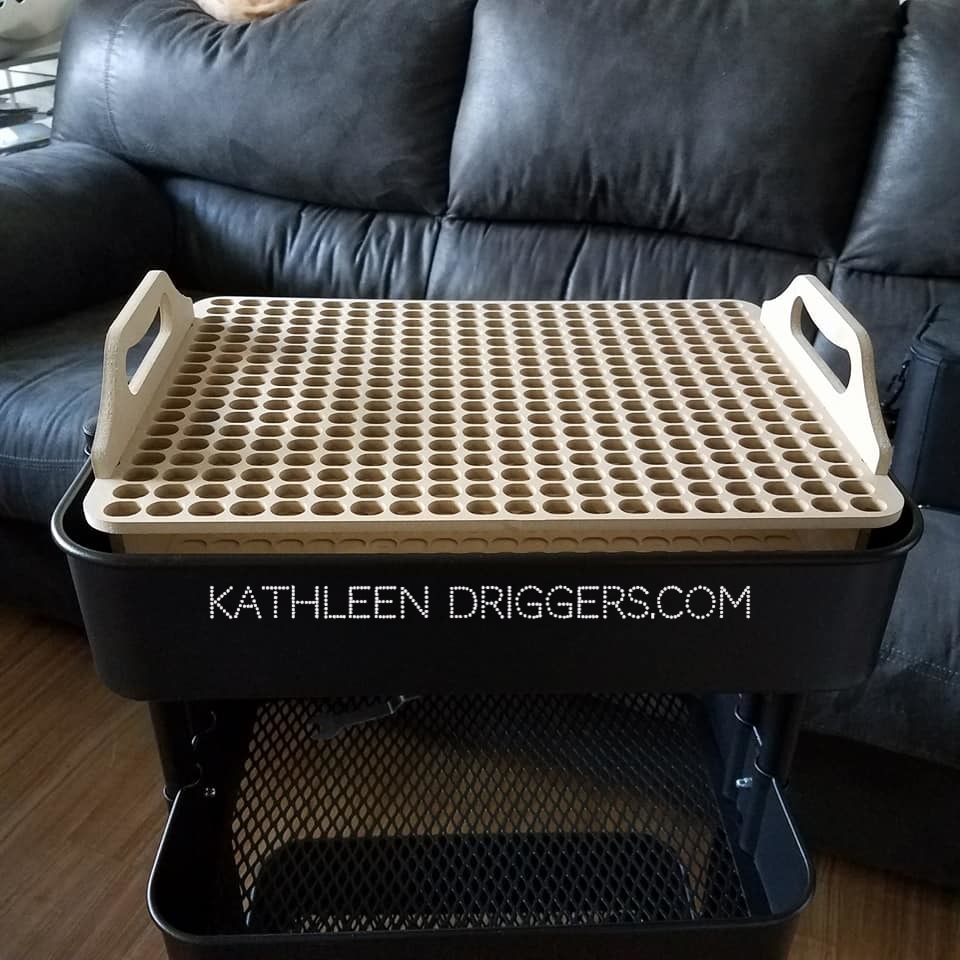
The insert fits right inside of the Raskog shelf (I keep mine in the top), and I have designated this cart to be my “coloring cart” which I can wheel to my living room or bedroom if I want to color somewhere other than my craft room.
I am going to keep my speciality (copic) cardstock in another of the shelves as well as my other coloring mediums, (water colors, colored pencils, etc).
Here is a photo of the insert in the top shelf:
Here is a photo of the cart and insert filled with all of my Copics: (I will take a better photo when the cart is full and the markers aren’t all crooked. I did this quickly so I could share my copics in the insert with you.)
I’m not affiliated with Tj and Things or Ikea, but I am linking to these products for your convenience 🙂 If you have any questions, please feel free to contact me.


Oo, I love the Copics in your Raskog cart!
I think I’d have the same problem with the Copics being in a bag on the floor
*wrinkles nose at the thought of constantly bending over to get Copics out*
I’m not a travelling crafter, or teaching copic classes, so I don’t need them all to be portable that way. If I’m taking colouring on the go, I’m generally only bringing a handful or two of markers in specific colours to colour the specific images I’m bringing, so I just pop them in a small pencil case.
I really like the idea of the copics in the cart, as I’d be able to have hubby wheel it over from my craft room. Then it could be next to my bed for me to use on days that I’m bedridden, but it wouldn’t have to “live” in my bedroom.
I currently store my Copic markers in cardboard tubes that I lined with white paper and edged with black tape, and then glued together stacked up in a pyramid shape. I only have about 50 Copics, so that storage system works well for me. Eventually, when I’m finished purchasing as many Copics as I think I’ll need (for example, I currently have a great range of greens, but don’t have a good blending group for a nice pink), I think I’ll make the storage system again (but a big bigger) out of PVC pipes.
Thanks for taking us on the journey of what works for you, and what doesn’t, and why! <3
Hi I bought the insert for the Ikea cart. I would like to know how put your colours in order? Did you follow a chart? etc Thanks
No, I just put them in order by color number 🙂
Hi there. I first off have to say I love your organizing ideas and will implement many of them. As for storing Copic markers the Copic instruction book i have says they should be stored horizontally. What are your thoughts in this.
According to copic you can store them either horizontally or vertically.