Until now, I’ve been storing my dies like this and it worked fine until I got so many dies that I needed three containers to hold them! I didn’t have room for all the containers and it was starting to take a long time to find what I was looking for so I took a hint from my new stamp storage and updated stamp inventory and have switched them over to magnetic pockets, as well as having created a new die inventory notebook on Evernote (more on that later!)
I started by planning and gathering my supplies:
Dies, of course!
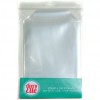
 Die Storage Pockets – After much debate and trying several different options, I decided to stick with what works already and use the Avery Elle Stamp & Die Storage Pockets.
 Dividers – A lot of people follow Jennifer McGuire’s advice and buy poly/plastic folders and cut them up, or you can do what Nichol Magouirk does and use these DVD Dividers.. (Company went out of business but here is a link t more DVD Dividers – http://amzn.to/2DkTxMd) However, I’m on a budget so I copied my idea from my Stencil Storage Solution and have decided to cut up pieces of good, sturdy cardstock (Bazzill Card Shoppe in Candy Necklace) from my stash and run it through my laminator.
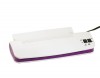
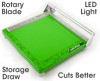
 Laminator & Pockets – If you are making your own Dividers, you will need a laminator and laminating pockets. This is the one I use from Purple Cows.
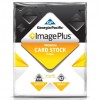
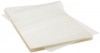
 Cardstock – Any cheap cardstock will work fine for this. I used Georgia Pacific cardstock which you can get at Amazon for 9.95 (for a pack of 250 sheets!)
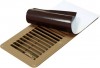
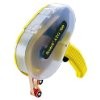
 Magnetic Vent Covers – These are made to cover up air conditioning vents but the magnetic material is strong and ease to cut down and is much more affordable than any other magnetic material I’ve found. I bought a bunch of these for less than $5.00 a pack (you get 9 storage cards out of one pack) and am cutting them to fit my pockets and to hold my dies.
 A Storage Container – I happen to have an InterDesign Fridge and Freezer Storage Bin, 12-Inch by 4-Inch by 14.5-Inch, Clear in my craft room already that was empty (it used to hold my mists before I moved them to my Ikea Rakskog cart) so I am putting mine in there, however, if you have a smaller collection or don’t like the size of it, you can also use this: InterDesign Linus Pantry Pullz Organizer, Medium
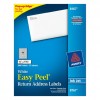
 Labels – I happen to have a TON of labels left over from my new stamp storage and they work great so I’m using them. They are the Avery 8167 Return Address Labels. (Much more affordable than using my Brother P-touch label maker when you have a large collection like mine!
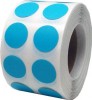
 Color Coding Labels – This product is optional, but because I don’t store my dies WITH my stamps (I’m OCD like that), I chose to purchase these 1/2″ teal color coding labels and put one on each stamp and die storage pocket that has a coordinating stamp and/or die.
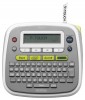
 Label Maker to label the Dividers – I used my Brother P-Touch Label Maker.
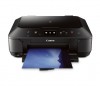
 Printer: Finally you will need a printer to print your labels. Most of us already have one but here’s the one I have just in case you are in the market for a new one.
Die Storage Categories
The first and most difficult step of this entire process was going through my dies initially and deciding how to categorize and store them. I have decided to store mine by category and I took note from the categories on the MFTStamps.com website because I find them easy to use and so my categories are:
- Accents – This includes arrows, tags, banners, small labels and flags, etc.
- Alphas & Words – All alphabet and word dies
- Backgrounds
- Borders
- Card Elements
- Elements – This includes things like windows and peek-a-boo type elements
- Floral
- Nested Shapes
- Plain Shapes
- Frames
- Labels
- Pierced & Stitched
- Stamp Companions – (all dies that go with a stamp set go in this section)
- Sub-categories by manufacturer
- Stand Alone – This includes dies that don’t have matching stamps and don’t fit into any of the other categories.
Instructions to Create Your Own Die Storage Pockets & Inserts:
- Let’s start by creating our pocket inserts which will hold the dies. Using any cheap 110lb cardstock (I used Georgia Pacific from Walmart) cut each piece so that it measures 5 3/8″ 7″.
- Cut the magnetic vent covers to fit onto the cardstock inserts you just created. I cut mine to 5″ x 6 7/8″.

- Using my ATG, I glued the newly cut magnetic material on to the inserts. This is what it looks like at this point.
- Attach dies to magnetic insert and place the insert into the storage pocket.
- Add a label and/or a color coding sticker to your new die storage pocket and voila! You are finished! Here is a photo of a completed die storage pocket.


Instructions for Making Dividers
- Using a thick cardstock (I used Bazzill Card Shoppe in Jawbreaker).
- Run it through your laminator inside of a laminating pocket.
- Trim off the excess laminating material and cut in half to 7 3/4 x 5 1/2″
- Add a label using your label maker or label sheets (I used my Brother P-touch Label Maker)

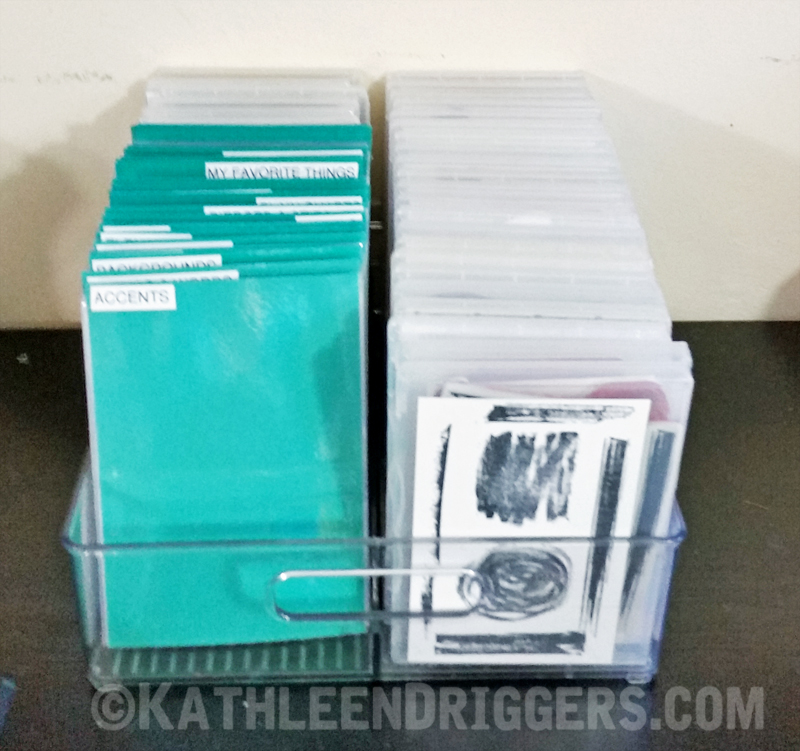
Completed Die Storage
Here is what my newly completed die storage container looks like filled with my dies (half of it is filled with large stamp sets stored in Stampin’ Up’s DVD cases).
To view my Evernote Notebook for my Die Inventory/Collection click here.
![]()
To watch this video in HD click here.
![]()

Great super helpful tutorial, Kat! Thanks so much for walking us through it and for sharing the links to the items you used.
Sooo useful, thanks!!! My dies are all thrown into a big box. Time to organize!!
Kat
I loved this idea and ordered the pockets right away and I just happen to work at Lowe’s and bought the magnetic vent covers. LOL! I was like Oh Man!!!! got to do that. Thanks for the great idea.
Blessings!
Darlene
between both you and jennifer my room will be quite orderly~