About a month ago, I posted a video showing how I store my wafer thin dies (including my spellbinders and I thought I blogged about it but I didn’t so I’m sharing it with you today 🙂 (You can find the video at the end of this post) Also, you’ll notice that I store my embossing folders in the same basket as my dies 🙂 They were a perfect fit so I popped them in there and I can easily flip through them when I want one.
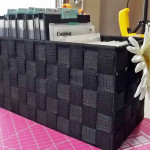
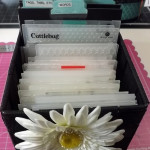
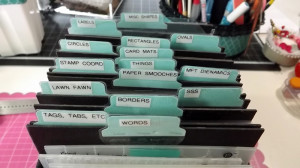
This is what my die storage looks like:
This is how I made my die basket.
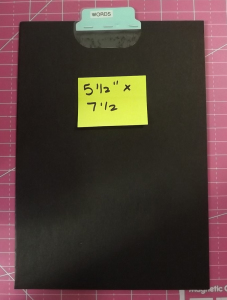
My basket measures approximately 6″ wide. I took pieces of black chipboard and cut them down to 5 1/2″ x 8″, like this:
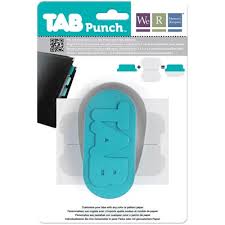
Then I punched out tabs using my WRMK Tab Punch and stapled them onto the chipboard. (The tabs weren’t sticky enough for heavy use which is why I stapled them)
and this is what they look like all put together:
To make magnetic pockets you will need:
- Avery Elle Stamp & Die Pockets – I sell these in my store so I had them on hand. If you need to purchase some, contact me or visit the Scrappy Resale Room.
- Magnetic sheets – I got mine here:
- Paper Trimmer/Scissors
- Label Maker – I use this label maker.
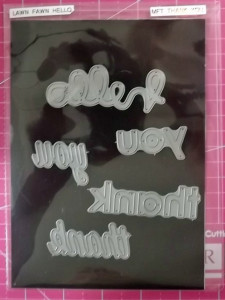
So first you will take the adhesive backing off of the magnetic sheets and adhere a piece of plain white cardstock to it. (Makes it sturdy). Then you will cut your sheets to 5 1/2″ x 8″. Place your dies on the magnetic sheet and slip it into the Avery Elle Storage Pocket.
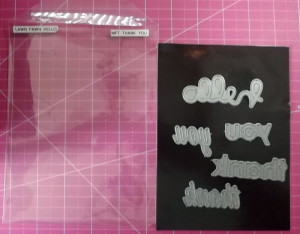
All that’s left is to make a label and stick it on the pocket and you’re finished! Simple huh?
I hope this die storage solution helps you, it’s working out great for me and I’ve had them stored like this for about 6 months now. If you’d like to see me make these pockets in real time, here is a video demonstration.
Leave a Reply