Updated Post 2017 – How I store my small stencils (smaller than 12×12).
You will need:
- Stencils (link)
- Cardstock (link)
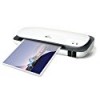
- Laminator (link)
- Laminating Pouches 5 mil (link)
- Stencil Spray/Repositionable Spray Adhesive (link)
- Label Maker (link)
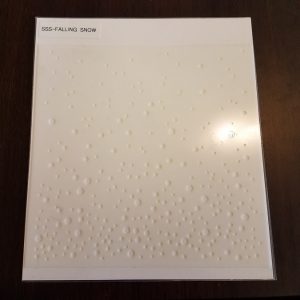
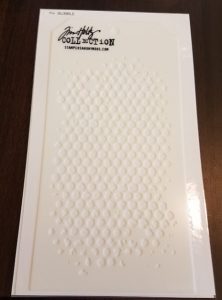
I have two sizes of stencils, 6×6 and the Tim Holtz Stencils which are 3″ x 6″. I have pre-cut and laminated cardstock pieces to approximately 6 1/4″ x 6 1/4″ and 3 1/2″ x 6 1/2″. I keep extras on hand so when I buy a stencil, I can put it away without having to complete all of the steps, every time.
I first label my laminated cardstock sheet using my P-touch label maker. Then I spray the back of the stencil with stencil spray (or repositionable adhesive) (It must be REPOSITIONABLE), and let it dry for about 30 seconds. Then I place the stencil on to the laminated cardstock. Then I have this:
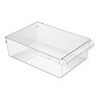
I store my stencils in an Interdesign Fridge Bin along with my organizational supplies. Here are some photos of the bin filled with my stencils and supplies.
As you can tell, it’s very easy to flip through my bin to see my stencils. When you are finished using them, just stick them back. If they aren’t sticky after you’ve washed them a few times, simply spray them with the adhesive again. I’ve been storing my stencils like this for about two years and it works great for me.
I hope this storage solution works for you. The supplies I use are listed and linked below for your convenience. If you have any questions, feel free to leave a comment and I’ll get back to you as soon as possible.
![]()


Great idea! I’ll be using this 🙂
Great idea thanks Kat, I have never really had many stencils but then have recently acquired the odd one or two as magazine freebies but then Hunkydory introduced some alongside their Stamp Range so my collection is starting to grow. I think I’ll try this.