Organizing can be almost as much of a hobby as crafting itself! Personally, I love to organize my craft room. The rest of my house? Not so much! LOL Today I’m going to share with you my personal favorites that I use to organize my craft room. *This is a long post with a lot of photos*
Evernote – The first organizational product I use is free (but has a paid option as well) and it is a software program called Evernote. I keep an electronic inventory of all of my stamps and dies using this software. Many people use it to inventory all of their crafting supplies as well, but I just use it for stamps and dies. You can read all about it along with a tutorial and video here.
Office Pens, Pencils, Sharpie Markers, etc
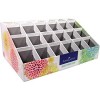
Originally made to store gelatos, I use this Faber-Castell Design Memory Craft Studio Caddy to store all of my pens, pencils, some of my markers and rulers, along with a few miscellaneous items like a spray bottle, custom stamps on blocks and more. This item is made out of cardboard so you have to be a little cautious when moving it around once it is full but it holds a LOT of little items and makes it handy to see and reach them.
Stamp Shammy Holder
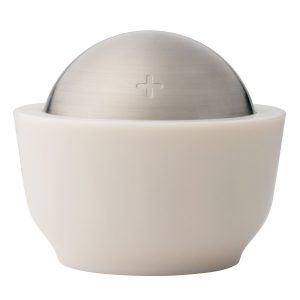
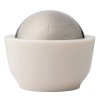
I use this salt cellar to keep my stamp shammy clean and retain it’s moisture. I got the idea for this from Jennifer McGuire and it works so well it’s one of my favorite storage products now. It has a flip top so you just flip it open when you want to use the stamp shammy and when you are finished, just flip it closed. This way it gets enough air that it doesn’t get smelly but stays moist for a few days at a time.
Crafting Pens and Markers (other than Copics)
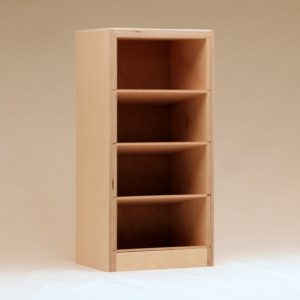
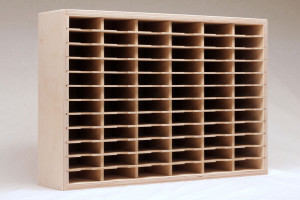
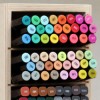
New to my list this year is this Marker Nook from Stamp-N-Storage. I have several sets of miscellaneous markers from Zig Clean Color Real Brush Markers, Spectrum Noir Sparkle Pens, Tombow Dual Brush Pens, Big Brush Markers, etc. and I wanted a place where I could see them in plain sight because if I don’t see them, I forget that I have them and they wont’ get used. This little Marker Nook is perfect for that! The cost was around $49.75 with free shipping. I know it’s a little on the pricey side but it is so sturdy and well made that it will last for years and years! You can paint them if you want, but I never painted my ink pad storage containers so I decided to leave this one natural as well so they all match.
Die Cutting Tool Caddy
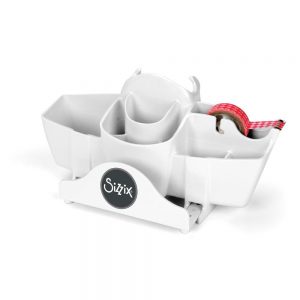
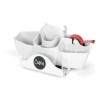
This year I also discovered the Sizzix Big Shot Tool Caddy. It snaps onto your Sizzix Big Shot *does not work with Big Kicks* and organizes cutting pads and platforms with adjustable sliders. It has a built-in tape dispenser and spaces to store die picks, die brushes, scissors and more. I love that I am able to store my cutting pads and extra plates/shims all in one place without having to get up and get them every time I die cut or emboss. And even better, it’s fairly inexpensive and comes in black or white.
Paint Brush Storage
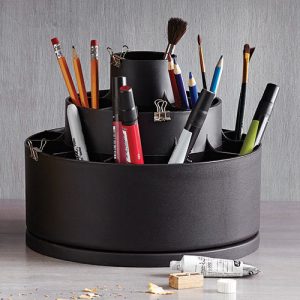
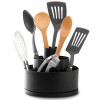
I use this Pampered Chef Tool Turn-About to store all of my paint brushes in. It holds a LOT and is very sturdy. I have had this in my craft room for years but it used to hold my scissors and tools, etc. until I decided to use it for my brushes. It’s very sturdy and I decorated mine with patterned paper and ribbon to match my craft room 🙂 Here is a picture of it all decorated. (I took this picture several years ago when this was my regular tool caddy, I now use the white spinner from Recollections for my tools and this is just for paintbrushes but it worked well for either use!) I will try to take updated photos and add to this blog series soon 🙂
Bling, Jewel, Enamel Dot Storage
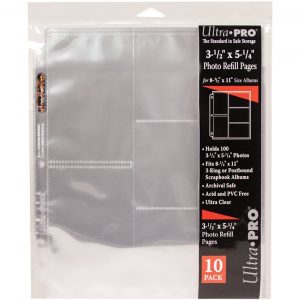
I store my bling and enamel dots in these divided page protectors. I put a piece of white cardstock in each section so it’s easy to see the bling. I keep the sleeves in a binder (from Walmart) and it’s really easy to flip through the pages and see what I have.
Stamp Storage Products
I have an older blog post (that I need to update) that shows how I organize and store my stamps. You can read about that here, however, here are the current products I use.
Small Stamp Sets
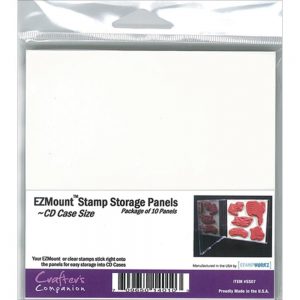
I store my small stamps on these Stamp Storage Panels. They are like a laminated piece of chipboard and they slide right into my Avery Elle Small Storage Pockets. I store my stamps out of the light, in 4 drawer cubes from Recollections. You can see photos of this at the blog post link above.
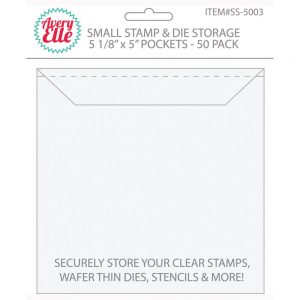
For my small stamps, I use these Small Storage Pockets from Avery Elle. They are the perfect size for my stamp panels and work great for me.
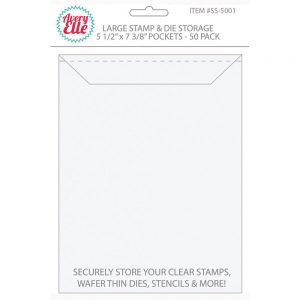
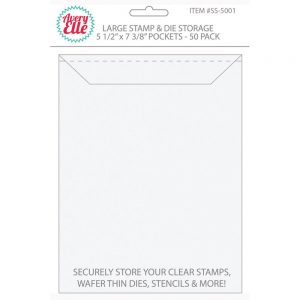
For my large stamp sets, I store them in these Large Stamp & Die Pockets, which measure 5 1/2″ x 7 3/8″
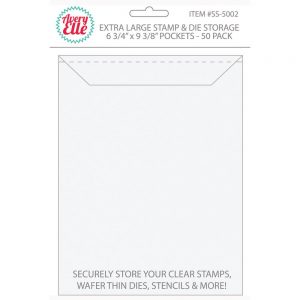
I store my X-large stamp sets that won’t fit into my other pockets in these XL Storage Pockets from Avery Elle. They measure 6.75″ x 9.25″. I simply slide a sheet of white cardstock in the back so that the stamp set shows up easily.
Die Storage Products
I have an older blog post that shows how I store my dies that you can read here, but below are the products I use.
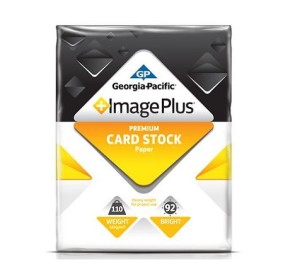
GP ImagePlus 110lb Cardstock – This is the inexpensive cardstock I use for all of my organizational purposes such as the covers for my stamp pockets and the backings for my magnetic die storage sheets. I get it at either Amazon or Walmart, depending on which is in stock.
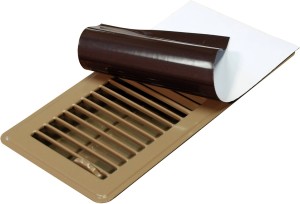
Once I have cut my cardstock into sheets, I then using my ATG, adhere magnetic sheets to them. I use Accord Magnetic Vent Covers which are the same price at Lowe’s as they are on Amazon. I cut three sheets per vent cover, and they come in a pack of five, so I get 15 storage panels out of one pack of vent covers. I have a friend who uses thin chipboard and adheres her vent covers to the chipboard. This works well too!
Once I’m finished making my magnetic panel, I slide them into an Avery Elle Large Storage Pocket and that’s how I store my dies.
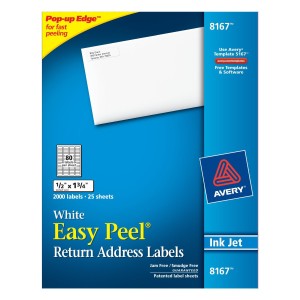
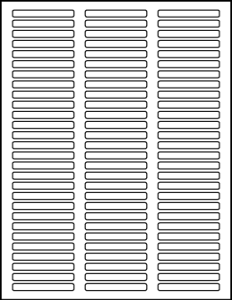
I label both my stamp storage pockets and my die storage pockets with these Avery Elle Easy Peel Return Address Labels 8167. I used to use my P-touch label maker but found that these labels was much more economical for me and I find it very easy to print them using Microsoft Word.
Dividers
I create dividers to separate my dies by category. A lot of people buy folders and cut them up, or buy the dividers already made but I found it less expensive to make my own. So i use thick cardstock in my favorite color and cut it into the size I need and laminate them. It’s super easy and saves a lot of money.
I use Bazzill Card Shoppe Cardstock create my dividers because it’s very thick and it comes in a color that matches my craft room perfectly.
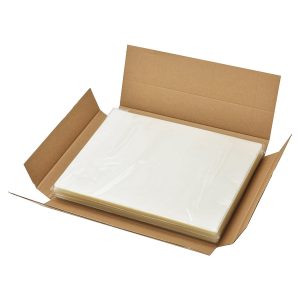
I laminate my dividers using these inexpensive laminating sheets from Amazon. They are 5 MIL thick and you get a pack of 100 for $12.99 with free Prime Shipping.
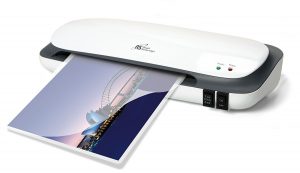
Royal Sovereign 9-Inch Laminator (CS-923) – This is the best laminator I’ve ever used and I’ve tried three this year alone. This one is definitely a keeper! It has a jam release lever and uses 3mil to 5mil laminating sheets. It’s quiet and doesn’t get nearly as hot to the touch as some others I’ve owned. (You can also foil with this if you want!)
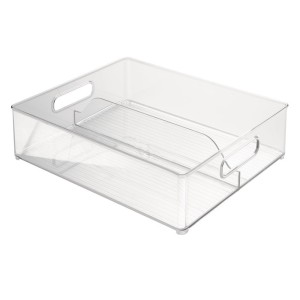
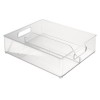
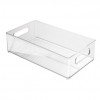
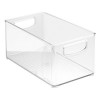
Once my dies are on their magnetic sheets and placed in the storage sleeves, I place them (along with the dividers) into these divided storage bins by Interdesign.
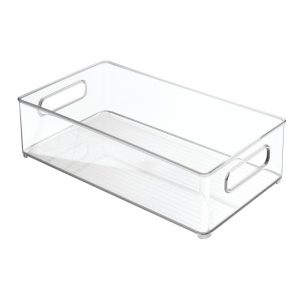
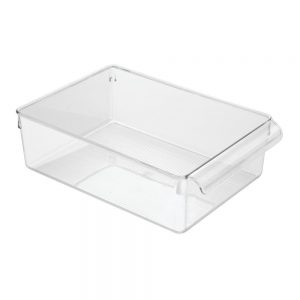
However, if you don’t’ have a lot of dies or if you have trouble picking up heavy items, you may want to consider using the single bins because the double bins get quite heavy! I don’t move mine around much so it’s not a problem for me but you may need to move yours so keep the weight in mind. I currently have one of the double bins plus the single bin shown below, which I use to store my dies but I’m quickly running out of room so I will need to add another very soon!
8.5 x 11 Cardstock Storage
You can see an entire blog post with details of how I store my cardstock by clicking here. These are the products I use.
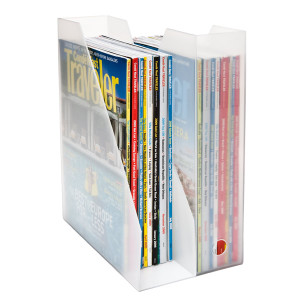
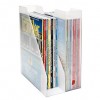
Like-It Magazine Files from The Container Store – These hold my 8.5 x 11 cardstocks perfectly. You can see a photo of how it looks filled with cardstock by clicking here.
Scrap Cardstock Storage
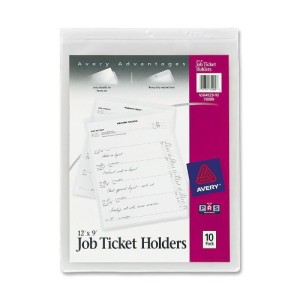
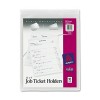
Behind each color of cardstock I store my scraps in these Avery Job Ticket Holders. It makes finding scraps of any size easy to find and keeps them next to their matching colored cardstock.
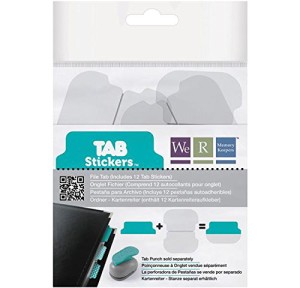
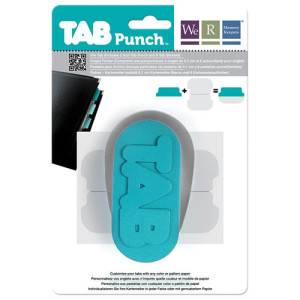
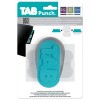
I use this tab punch by WRMK to create tabs to separate my cardstock colors. Then I stick them onto the cardstock separator sheets using these Tab Punch Stickers.
Ink Pad Storage
I store my ink pads in the Stamp N Storage storage units. You can read all about my ink pad storage and see photos here, however, as of this date, I currently have five units. When I wrote that blot post, I had two. (I love ink!)
I cannot recommend Stamp N Storage highly enough. Their products are stellar and they always have free shipping!
My distress inks and distress oxide inks are each stored in their own “Petite Ink Pad Holders” from Stamp N Storage.
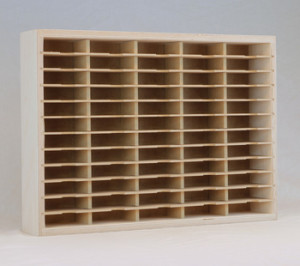
My other ink pads are stored in the Slim 120 Ink Pad Holders and the Slim 72 Ink Pad Holders. It comes in a few other sizes as well. These are the two different sizes that I have.
Ink Pad Labels
I use these labels to label my ink pads. You can read all about it here.
Copic Marker Storage
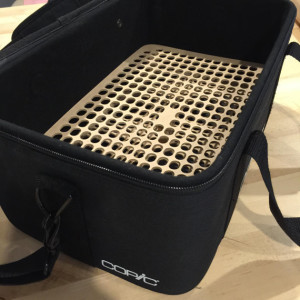
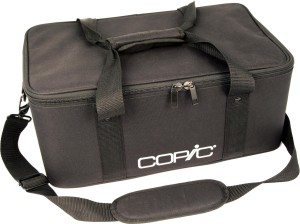
I store my copic markers inside of a wooden insert that was specially made for my Copic Marker Carrying Case. You can purchase the insert here. They also sells plastic boxes with the grids inside, you don’t’ have to use the Copic Marker Carrying Case if you don’t want to. That’s just how I prefer to store mine, because they are easy to move and travel with. You can view photos and details of my markers stored in this container by clicking here.
Sequin & Bead Storage
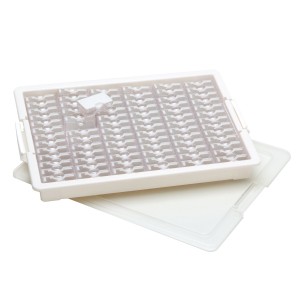
I use the Darice 82-Piece Elizabeth Ward Bead Storage Solutions Tiny Container Storage Trays to organize my sequins and beads. It uses very little space and works like a charm. Everything is easy to see and the trays stack easily. You can see a post with close up photos of my sequin storage here.
Stickles & Liquid Pearls Storage
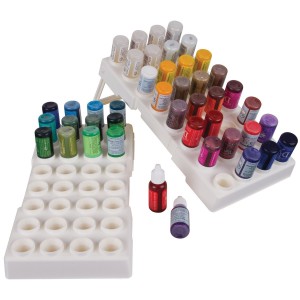
I use these Artbin Trays which lay flat on a shelf in one of my cubes from Michael’s (paper tray cubes – click here for more info and photos). Each tray holds 32 bottles and they are inexpensive. I like storage that takes up very little room!
Bins and Baskets that Store Stickers, Alpha Stickers, Ephemera, Embellishments, etc.
We all probably have a few of these in our craft room. This is what I use and what I use them for. Hope it helps!
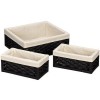
These are the baskets I use for all of my long stickers and embellishments. I used to have multiple ways of storing them but now they are all nice and neat in these baskets. I made dividers using laminated cardstock and the tabs I use for cardstock storage and it works great!
Small Stencil Storage
I keep my stencils adhered to laminated sheets of cardstock (using repositionable spray adhesive) in these large bins. That way I can flip through them on a sturdy background. It is a little more work than just throwing them in a plastic bin, but the organization it brings is worth a few extra steps for me.
These large bins. measure 8″ x 11.5″ x 3.5″ and hold several different sizes stencils. Any larger stencils than this, (like my 12 x 12 stencils, I store in a scrapbook project box. I am planning on writing a blog post showing how I store my stencils. When the blog post is done you will be able to find it by searching my site for “stencil storage”.
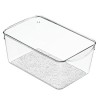
I use these InterDesign Rain Cosmetic Organizers quite frequently in my craft room. In fact, I believe I have four now. They measure 4.2-Inch by 6.2-Inch by 10.2-Inch and are the perfect size for storage in a craft room. They are inexpensive as well! One of the things I like to store in here are my loose 6×6 cardstock and patterned papers. (Not paper packs) . I keep it next to my Sizzix Big Shot so I can use the paper up when die cutting. I keep the tiny scraps there as well.
Embossing Powder Storage
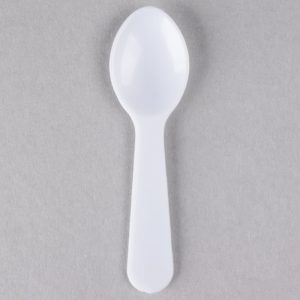
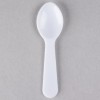
Mini Tasting Spoons – Store these on the lid using the clips below and use them to pour your embossing powder over your stamped images. *This photo is difficult to see because the spoons are photographed on a white background and they are white themselves but if you click on the link you can see them in a better photo.
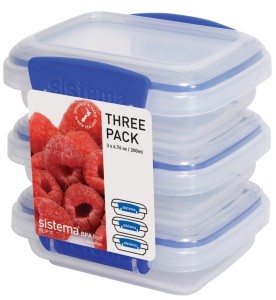
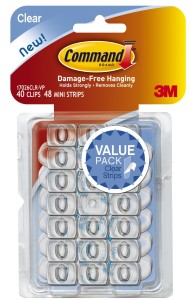
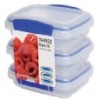
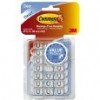
Command Decorating (Spoon) Clips – Use these clips to secure your Mini Tasting Spoons to the inside lid of the Sistema Klip It 3 by 6.7-Ounce Containers.
Label Maker/Printer
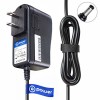
Even though I use Avery labels on many of my organization projects, there are still things that I use my label maker for. So it is still a favorite and needs to be included in this list. There are times when this is more convenient than printing labels on my computer but keep in mind that the label tape is quite expensive and if you don’t use chain print, it wastes an awful lot of tape so I limit its’ usage in my organizing. Also, it uses a LOT of batteries and drains them quickly so I recommend buying an ac dc adapter/power cord.
I could seriously (probably) write a book about all of the organization and storage solutions I’ve used or currently use. If there is something you need to organize and don’t see it listed here, look under the “Organization” tab in my menu on this blog. If you still can’t find it, please contact me or leave a comment and I will do my best to help you find a solution.
The products I use and recommend for storage and organization in this post are all listed and linked below for your convenience.
















This is amazing! I love how you list the supplies as a recap at the bottom too. So awesome! I’m just starting to touch on crafting and wow! There’s so much to learn.
Thanks, I’m so glad it helps 🙂 I’ll be doing a 2018 favorites list very soon!
Thank you for these great ideas! In addition to having MS, I have a bit of ADD & OCD. (I know, quite the combo.) So I appreciate any help/ideas. 😊