Kat's Adventures in Paper Crafting...

Card Making, Stamping & Scrapbooking

  • Twitter
  • Facebook
  • Instagram
  • Pinterest
  • RSS

A Paper Crafting Blog

  • Home
  • About
    • About Kat
    • Contact Me
    • Disclosure
  • Organization
    • Updated & Easy Stamp Storage, Organization & Inventory!
    • Embellishment Storage Solution
    • Lazy Susan from Ikea for Gemini Jr Die Cutting Machine
    • Updated Die Storage Categories in Evernote
    • Cardstock Storage and Organization
    • Updated & Easy Stamp Storage, Organization & Inventory!
    • Stencil Storage
    • Organization Archives
      • Craft Room Tour
      • Bling & Enamel Dot Storage
      • Cardstock Storage – 8.5×11
      • Cardstock Storage – 12 x 12
      • Copic Marker Storage
        • Other Copic Storage Ideas
      • Die Cut Storage
      • Die Storage (Wafer Thin Dies)
      • Evernote Inventory
      • Flair Button Storage
      • Ikea Raskog Cart
      • Ink Pad Storage
        • My Ink Swatch Album
      • Peerless Watercolor Paint Storage Solution
      • Scrap Paper Storage
      • Sequin Storage
      • Small Stencil Storage
      • Stamp Storage System
      • Stickles Storage
  • Kat’s Favorite Crafty Products
    • Kat’s Favorite Adhesives
    • Kat’s Favorite Crafting Papers
    • Kat’s Favorite Coloring Mediums
    • Kat’s Favorite Crafting Tools
    • Kat’s Favorite Die Cutting Accessories
    • Kat’s Favorite Embossing & Foiling Products
    • Kat’s Favorite Inks Pads
    • ARCHIVED Kat’s Favorites – 2019
      • Kat’s Favorite Crafty Things – 2019
      • Kat’s Favorite Adhesives 2019
      • Kat’s Favorite Cardstocks & Paper – 2019
      • Kat’s Favorite Crafting Tools – 2019
      • Kat’s Favorite Die Cutting Products – 2019
      • Kat’s Favorite Heat Embossing Products – 2019
      • Kat’s Favorite Inks & Inking Tools & Products 2019
      • Kat’s Favorite Stamping Products – 2019
  • Paper Crafting
    • Tutorials & Guides
      • How to Unmount Your Rubber Stamps with EZMount Cling Foam
      • Evernote Tutorial
      • Stamping Tutorial for Beginners Part One: Rubber Stamps
      • Stamping Tutorial For Beginners Part Two: Clear Stamps
      • How to Clean Your Stamps & Stamp Cleaner Demonstration & Review
      • How to Create a Birthday Calendar Reminder Book
      • Create an Ink Swatch Album
      • Create Your First Scrapbook page
    • All Copic Posts
      • Copic Markers FAQ & Color Combinations for Beginners
      • Copic FAQ 2 – What Cardstock to Use with Copics
      • Copic FAQ 3 – What Ink To Use with Copics
      • Copic Marker Storage
    • Kat’s Project Shares
      • My Cards
      • My Scrapbooking Layouts
  • Evernote
    • Updated Die Storage Categories in Evernote
    • Original Evernote Tutorial
You are here: Home / Craft Room Organization / New Small Stencil Storage

New Small Stencil Storage

August 27, 2017 by Kat 2 Comments

*Updated August, 2019 to add “Pixie Spray”

Hi everyone!  I have recently updated the way I store my small stencils so I thought I’d share it with you in case it’s something that may be of use to you, in your craft room.

The first part of my stencil storage is exactly the same.  It is what I store them in that has changed.  I will copy the instructions from my old blog post onto this one so you will have step by step instructions, as well as links to the products I used.  (Some of the products have changed a bit since I wrote the original blog post.)  The new part will be towards the bottom of this post.

How I store my small stencils:

First I start out making stencil storage sheets, which are laminated sheets of cardstock.

Instructions:  To create your stencil storage sheets, use the following steps:

  1. Cut sheets of cardstock to fit your stencils:   I chose to cut mine into two sizes.  The majority of my stencils fit on to a 7.5″ tall x 6.5″ wide sheet of cardstock.  (I cut mine to 6″ but you should cut them to 6.5 so you have a little wiggle room).  However, my Tim Holtz and one of my Studio Calico stencils were tall and thin and so I cut cardstock to fit them at approximately 8″ tall  x 5″ wide.
  2. Laminate the Cardstock:  Place the cut pieces of cardstock into the laminating pockets and run them through your laminator and then trim the extra laminator pocket material from your cardstock sheets.
  3. Label Cardstock Sheets:  Using your label maker, create a label for each of your laminated cardstock storage sheets.  I put the initials of the manufacturer and then the stencil name.  For example:  SSS – Chevron
  4. Adhere Your Stencils:  After you have sprayed the back of your stencils with Pixie Spray, stick the stencils onto the newly laminated sheets of cardstock.

This is what one of each of the laminated cardstock sheets looks like once they are completed and the stencils have been adhered:

completed stencil storage sheet

completed stencil storage sheet

Now that your stencil storage cards are created it’s time to put them away.  I am using the Clarity Stencil Folders to store my stencils in.  I bought two sizes, the A5 size for my tall, thin stencils and the 7×7 for my 6×6 and smaller stencils.  They look like this:

Stencil Storage Folders

Both the (7×7) Stencil Storage Folder  and the larger A5 size hold 24 stencils each.

This is what the inside looks like (full):

These stencil storage folders make storing stencils SO much easier and having the laminated stencil sheets keep them tidy and easy to see.

The good news? The stencil folders are inexpensive.  Bad news? You can currently only order them from the UK.  However, the shipping was not too bad for my order! (Links below)

Supplies

*Updated August, 2019

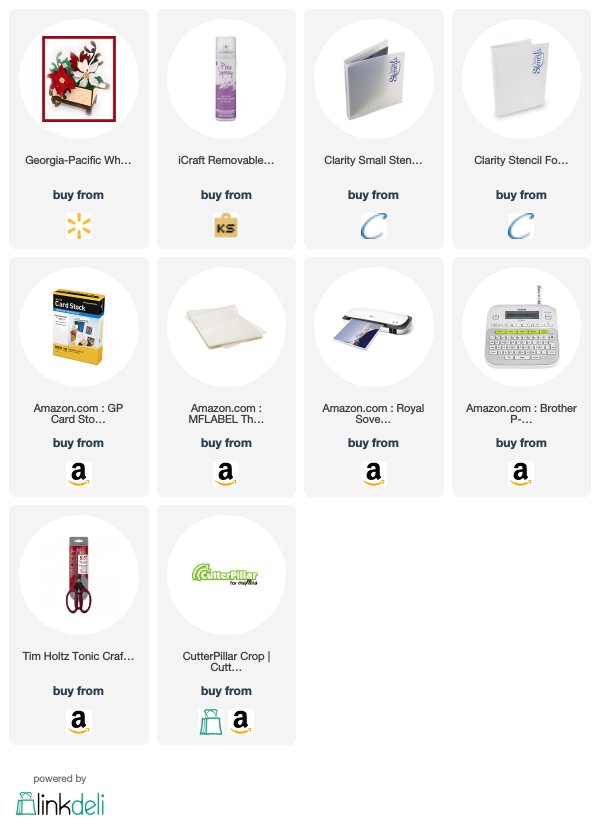
The products I used to create this storage solution are listed and linked for your convenience below.

« Previous article:

Layered Poppy Flower Cards

Next Post: »

Introducing Toil & Trouble and Naughty Christmas!

Filed Under: Craft Room Organization, Organization Products, Scrap Rooms & Organization Tagged With: 6x6 stencil storage, clarity stencil folders, how to store stencils, small storage stencils, stencil storage, stencil storage folders, tim holtz stencils

Comments

  1. Barb Macaskill says

    August 28, 2017 at 8:22 am

    Blitsy.com has both ClarityStamps stencil storage binders. Just click on (or copy/paste) these two links:

    http://blitsy.com/product/903561/claritystamp-groovi-traveler/903561

    http://blitsy.com/product/903562/claritystamp-groovi-album/903562

    Reply
  2. Lisa Davolt says

    September 12, 2017 at 2:01 pm

    Very clever. I think I’d personally prefer darker cardstock so the stencil shows better. The trouble with older eyes.

    Reply

Leave a Reply Cancel reply

Your email address will not be published. Required fields are marked *

This site uses Akismet to reduce spam. Learn how your comment data is processed.

About Kat

Kat

Grab My Blog Button

Kat's Adventures in Paper Crafting
Copy and paste this code to add my button to your blog or website!
Kat Scrappiness - Stamping, Die Cutting, Crafting Store!

Categories

  • Art Journal
  • Awesome Scraprooms
  • Brother ScanNCut2
  • Card Making
  • Contests, Giveaways & Swaps
  • Copic Markers
  • Coupons
  • Craft Room Organization
  • Craft Shopping
  • Crafty Sales & Coupon Codes
  • DIY Projects
  • Download Free Scrapbooking Inventory Forms
  • Family Life
  • FOR SALE
  • Free Cut Files
  • Free fonts
  • Free Printables
  • Home Life
  • Justin's Recovery
  • Kat's Favorites
  • Kat's Life
  • Kat's Project Shares
  • Kat's Scrap Room Organization 2014
  • Kat's Scrap Room Pics
  • Kat's Scrap Room Video Tour
  • Kat's YouTube Videos
  • Mini Albums
  • My Cards
  • My Scrapbooking Layouts
  • News & Updates
  • Organization Products
  • Organization Projects
  • Organize It!
  • Other
  • Other Crafty Projects
  • Scrap Rooms & Organization
  • Scrapbooking
  • Scrapbooking Freebies
  • Scrapbooking Products & Reviews
  • Silhouette Cameo
  • Stamping
  • Teenagers
  • Tutorials & Guides

Recent Posts

  • I have a New Puppy!!!! April 23, 2025
  • Easter & Spring Craft Sale! February 15, 2025
  • Marker Destash! February 15, 2025
  • I’m still here! December 9, 2024
  • Merry Christmas and Happy New Year from Kat! December 23, 2023

Archived Posts

Copyright © 2025 · Delightful theme by Restored 316

Copyright © 2025 · Delightful Pro Theme on Genesis Framework · WordPress · Log in