
Organizing craft supplies…Where does one start? This can be a hobby in and of itself! This post will be rather long but hopefully you will find something that helps you with your own craft room organization and storage! If you have any questions, just ask.
![]()
Evernote – The first organizational product I use is free and it is a software program called Evernote. I keep an electronic inventory of all of my stamps and dies using this software. Many people use it to inventory their crafting supplies as well. You can read all about it along with a tutorial and video here.
![]()
Stamp Storage – To see a complete post with step by step instructions on how I store my stamps click here. Here are the products I use to store my stamps:
Stamp Storage Sleeves/Pockets

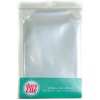
I use Avery Elle Stamp & Die Storage Pockets to store my stamps and dies. They come in three sizes, now, small, large and x large.

![]()

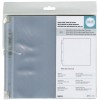
For larger or custom size stamp pockets I use these WMRK 8×8 Page Protectors along with my fuse tool to create my own pockets. You can read more about this and watch a video with instructions here.
![]()
Fuse Tool
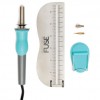
I use this tool to create custom size stamp pockets. It melts the plastic and seals it wherever you run it along the plastic. You can read more about this and watch a video with instructions here.
![]()
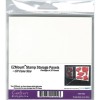
Stamp Storage Panels
I store my stamps on these storage panels, inside the sleeves (cut down). They are very strong and feel laminated. They are safe for photo polymer and rubber stamps and fit perfectly inside the stamp storage pockets.
![]()
Die Storage
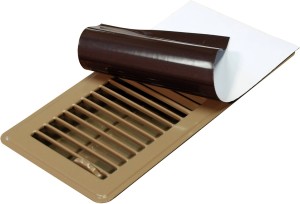
You can see an entire blog post and video showing how I store my dies (with instructions) by clicking here. I use the stamp and die storage pockets above and I adhere the following Accord Magnetic Vent Covers to cardstock and slide them into the sleeves. If they are out of stock at the link above, you can also find them at your local Lowe’s Hardware Store. (I’ve also tried the FrostKing brand and they are NOT as strong as the Accord brand so be careful when you buy them to make sure you are getting the strongest magnetic sheet possible.)
![]()
Dividers
To create dividers for my dies (categories), I laminate thick cardstock using these supplies.
Bazzill Card Shoppe Cardstock – This is an extremely thick cardstock and works great once you laminate it to use as a divider for the different categories for die or stamp storage.
![]()
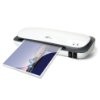
Laminator
I am currently using the Purple Cows Laminator but also have had and recommend the Royal Sovereign laminator. They are both excellent quality. I use the Amazon Basics Laminating Pockets along with my laminator.
![]()
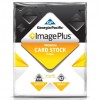
Cardstock
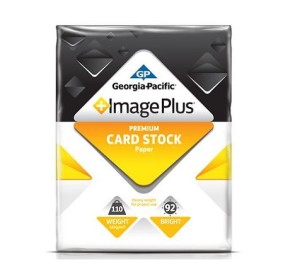
GP ImagePlus 110lb Cardstock – This is the inexpensive cardstock I use for all of my organizational purposes such as the covers for my stamp pockets and the backings for my magnetic die storage sheets. I get it at either Amazon or Walmart, depending on which is in stock.
![]()
Labels
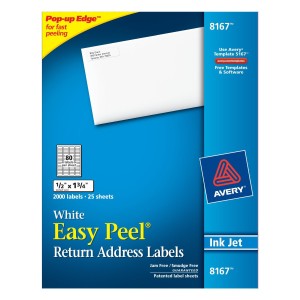
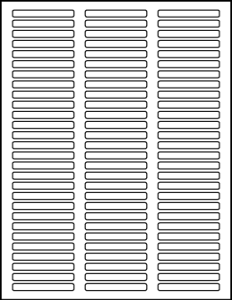
Avery 8167 Labels – I use these instead of the Brother P-touch label maker that I use to use. I like the size better, it’s easier to use and MUCH LESS expensive than the label tape!
![]()
8.5 x 11 Cardstock Storage
You can see an entire blog post with details of how I store my cardstock by clicking here. These are the products I use.
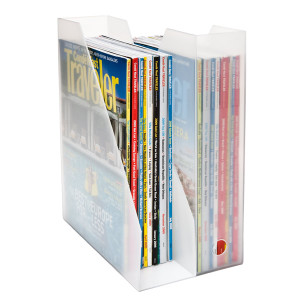
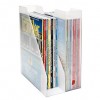
Like-It Magazine Files from The Container Store – These hold my 8.5 x 11 cardstocks perfectly. You can see a photo of how it looks filled with cardstock by clicking here.
![]()
8.5 x 11 Cardstock Scrap Storage
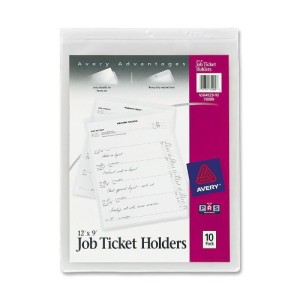
Behind each color of cardstock I store my scraps in these Avery Job Ticket Holders. It makes finding scraps of any size easy to find and keeps them next to their matching colored cardstock.
![]()
12 x 12 Cardstock Storage
You can see a blog post with details here. These are the products I use to store my 12 x 12 cardstock.
![]()
12 x 12 Patterned Paper Storage
Most of my patterned paper is stored by collection in these Scrapsaver Portfolio Folders from Consumer Crafts. (Hobby Lobby also sells their own brand but I don’t live near a Hobby Lobby). Any other patterned paper I have is stored in this 13 x 13 rolling cart in 13 x 13 hanging files. You can see photos and read more about this here. Here are photos (and links) for the products mentioned:


![]()
12 x 12 Cardstock & Patterned Paper Scraps
I had a 13 x 13 rolling cart in my craft room already because I store patterned paper in it. (you can read about that here) So I decided to use the Scrapsaver Portfolio Folders I also already had to store my scraps in and just put them in the hanging files. It works perfectly for me because it’s handy, it holds my larger scraps and I used products I already had. I will update this with a specific blog post showing how I store my larger scraps in the near future.
![]()
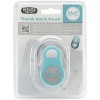
WRMK Tab Punch & Tab Stickers
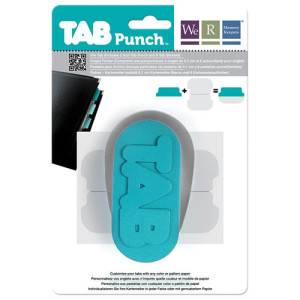
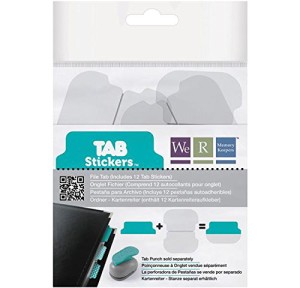
I use this tab punch by WRMK to create tabs to separate my cardstock colors. Then I stick them onto the cardstock separator sheets using these Tab Punch Stickers.
![]()
Ink Pad Storage & Labels
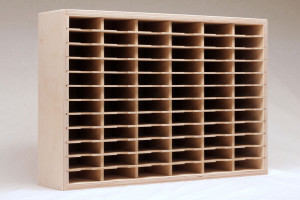
I store my ink pads in the Stamp N Storage storage units. You can read all about my ink pad storage and see photos here. I cannot recommend this company highly enough. Their products are stellar and they always have free shipping!
My distress inks are stored in the “Petite Ink Pad Holder” from Stamp N Storage.
My other ink pads are stored in the Slim 120 Ink Pad Holder and the Slim 72 Ink Pad Holders. It comes in a few other sizes as well but here are the two I have.

![]()
Ink Pad Labels
I use these labels to label my ink pads. You can read all about it here.
![]()
Pen & Marker Storage
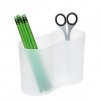
I store all of my pens in this Like-It Pencil Cups from The Container Store. it has a small footprint and holds a lot! Plus it matches everything, including my magazine files that store my cardstock! I also store my Zig Clean Color Real Brush Markers in one of these pencil cups.
![]()
Copic Markers
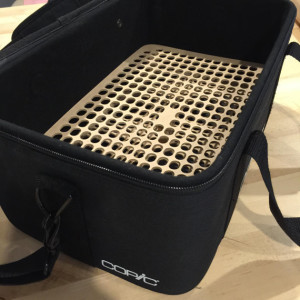
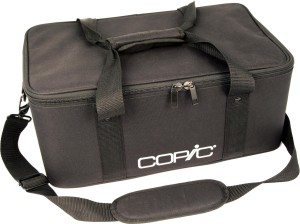
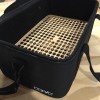
I store my copic markers inside of an insert that was specially made for my Copic Marker Carrying Case. You can purchase the insert here. You can view photos and details of my markers stored in this container by clicking here.
![]()
Die Cuts & Ephemera Storage
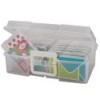
I use this Photo and Craft Keeper Case by Iris to store my die cuts and ephemera. I separate them by color. You can read more about this by clicking here.
![]()
Flair Button Storage
I use this Unikeep 3 Ring Case View Binder, 1.5 inch with Metal Rings. It seals shut when you close it so nothing falls out and you can decorate it in an way you’d like.
Then I bought these page protectors to go inside of it. They are called the “Coin Collector Refill Pack” and a pack of ten costs $5.99. You can see photos and read all about how I store my flair buttons/badges here.
![]()
Ribbon Storage
I use this system to store my ribbon. It takes up very little room and has worked great for me for many years! You can see my ribbon storage in a blog post here. Ribbon Organizer & Dispenser System
The system consists of five dispensers which measure 6″x 1″. Each dispenser will hold six spools of ribbon up to 7/8″ wide and up to 3 yards long. As you can see, the dispensers fit neatly into a clear plastic (open) tray as shown in the photo.
![]()
Sequin & Small Embellishment Storage
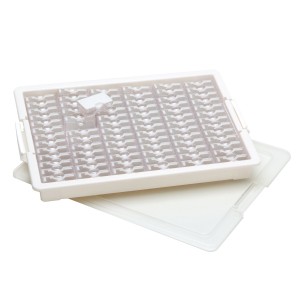
I use the Darice 82-Piece Elizabeth Ward Bead Storage Solutions Tiny Container Storage Trays to organize my sequins and beads. It uses very little space and works like a charm. Everything is easy to see and the trays stack easily. You can see a post with photos here.
![]()
Stickles & Liquid Pearls Storage
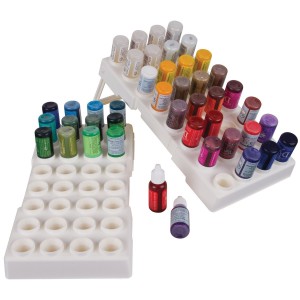
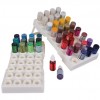
I use these Artbin Trays which lay flat on a shelf in one of my cubes from Michael’s (paper tray cubes – click here for more info and photos). Each tray holds 32 bottles and they are inexpensive. I like storage that takes up very little room!
![]()
Bins and Baskets
We all probably have a few of these in our craft room. This is what I use and what I use them for. Hope it helps!
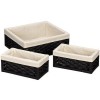
These are the baskets I use for all of my long stickers and embellishments. I used to have multiple ways of storing them but now they are all nice and neat in these baskets. I made dividers using laminated cardstock and the tabs I use for cardstock storage and it works great!
![]()
Miscellaneous Storage Bins
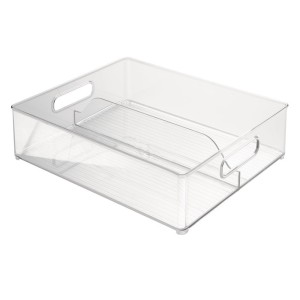
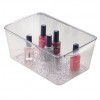
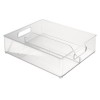
I use these InterDesign Rain Cosmetic Organizers all over my craft room. I have four now. They hold multiple things like embellishments, stamps and dies that I’m currently using or things I need to put away. They measure 4.2-Inch by 6.2-Inch by 10.2-Inch and are the perfect size for storage in a craft room. They are inexpensive as well!
![]()
Enamel Dot Storage Tray
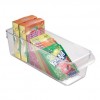
I use this Interdesign organizer to store my enamel dots in. It’s the perfect size for small packages!
![]()
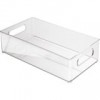
I use this Interdesign Bin to store my wafer thin dies in. It measures 10 x 6 x 3. You can see photos of how it looks filled up by clicking here.
![]()
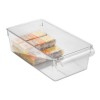
Double Bin – I store my larger stamp sets that are stored in DVD cases in this bin. For more info click here. A lot of people store their stamp sets in storage pockets in this bin. I also store my finished cards in one of these.
![]()
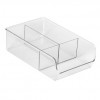
I store my Dylusions Paints and Small Stencils in this bin. You can read more and see photos by clicking here. If you don’t’ want to store your paints in the back, here is an alternative storage bin that will fit 6×6 stencils.
![]()
Embossing Powder Storage
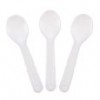
Mini Tasting Spoons – Store these on the lid using the clips below and use them to pour your embossing powder over your stamped images.
![]()
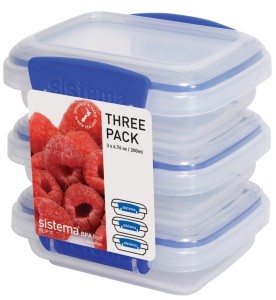
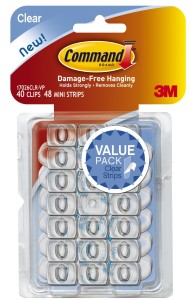
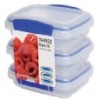
Command Decorating (Spoon) Clips – Use these clips to secure your Mini Tasting Spoons to the inside lid of the Sistema Klip It 3 by 6.7-Ounce Containers.
![]()
![]()
All of the products mentioned on this page are listed and linked below for your convenience. If you have any questions about anything on this page, please leave a comment or contact me and I’ll get back to you asap.



























I work from home and the papers and materials have grown much since I started working from home. I appreciate such convenient storage products and I definitely need to get some. Thanks for sharing!